Guest post by Lindsay McGarity
It’s the latest trend…turning thrift store finds into fun accessories for your home! It’s something anyone can do and it’s a great craft for those eco-conscious mamas out there, like me.
We’ve all seen the repainted, restored, and reused furniture items around town, but I’m going to show you how to get started with some smaller items that can be found as close as your local thrift store.
Step One: Go Shopping!
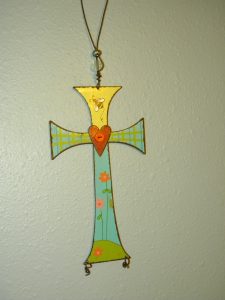
Now that I have your attention…Go scouting for fun home accessories at your local thrift store, Salvation Army, Helping Hands, etc. This is half the fun! Keep your eye out for figurines, frames, lamp bases, decorative wall plaques or sconces, candle holders, or anything that would look great or be useful in your home.
Keep in mind that you want the item to have good “bones.” This simply means that it’s structurally strong and unbroken. A small chip might be unnoticeable once it’s painted, but larger cracks or dents will certainly show and might end up breaking or looking poorly. There’s plenty of great stuff out there just waiting to be found and rescued!
Step Two: Gather Supplies and Clean It Up.
Decide what purpose your item will serve in your home and what color you want it to be. Purchase spray paint, keeping in mind if you want it to be glossy, matte, or able to withstand the outdoors. Gather some cardboard or newspaper to place the item on while spray painting. Gloves and a mask are optional…just make sure you’re in a well-ventilated area outdoors to paint.
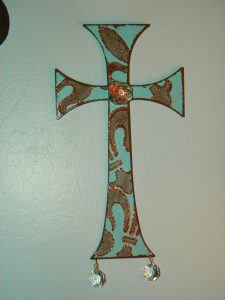
Since most thrift store items are old and dusty, you’ll want to wipe down (or sometimes scrub or sand!) the item first. Let it dry completely and then give it one to two coats of spray paint, letting the paint dry in between coats. The paint dries fairly quickly, so you shouldn’t be waiting long.
Step Three: Embellish and Enjoy!
If you want to take it a step further, you can always add some decorative details such as bling, stenciling, distressing, gluing on a fabric flower, or simply tying a bow around your item! Place it in your home and enjoy telling all you friends you turned that trash into treasure!
Here are some thrift store items I “upcycled” over the last few months…I think you’ll agree that the “Befores” are a little scary!
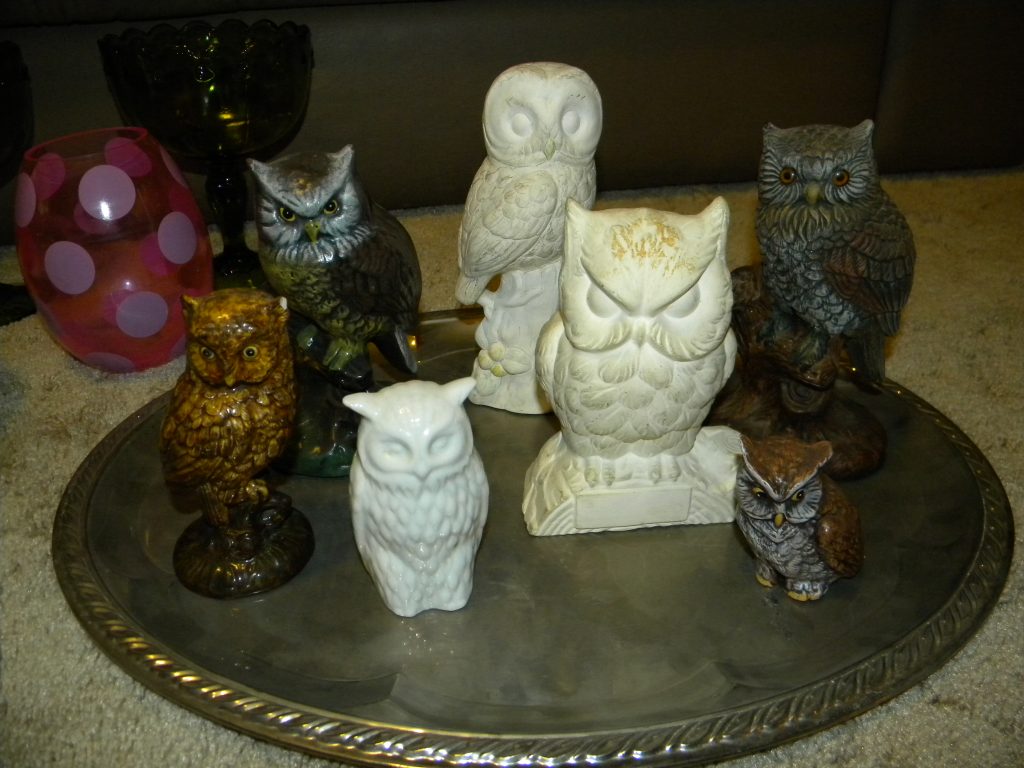
1. Owls BEFORE: I was so excited when I found someone’s adorable collection of owls on the shelf at my local thrift store. Ok, so they’re stuck in the 70’s, but not for long!
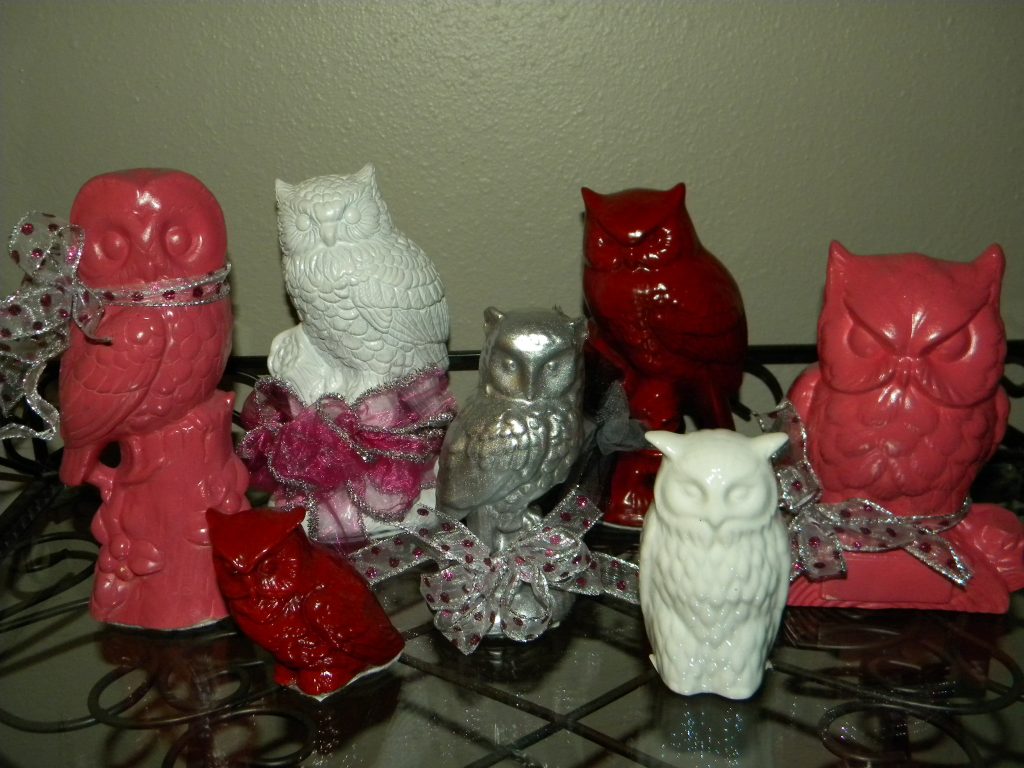
Owls AFTER: Whooooo you calling stuck in the 70’s?
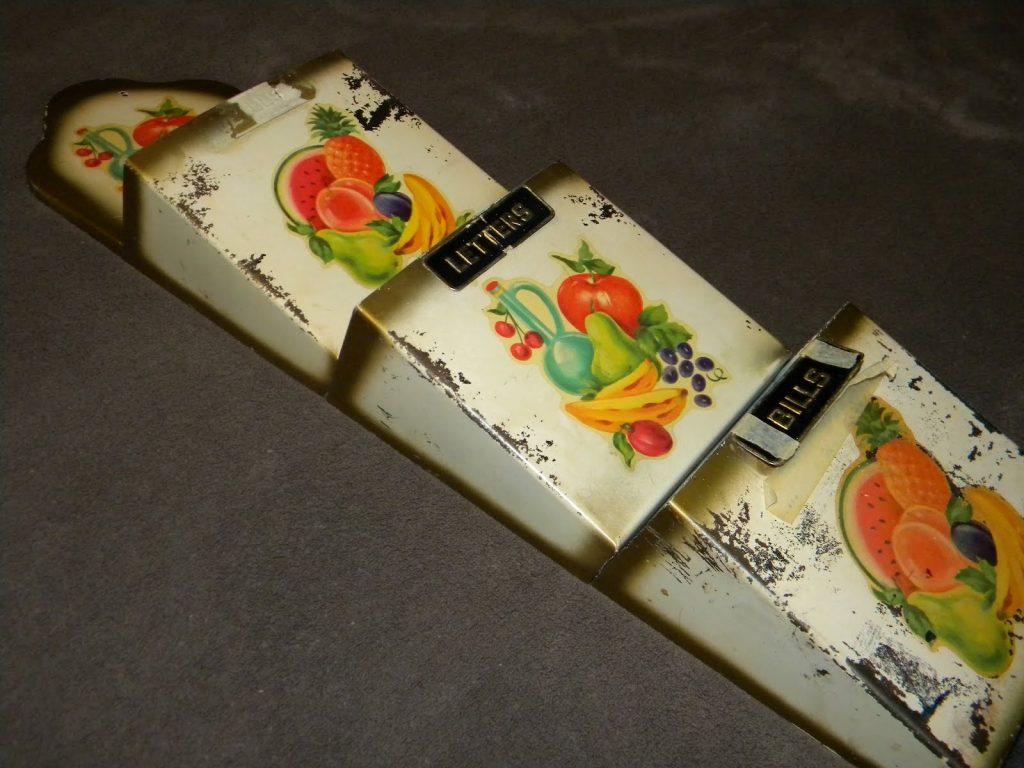
2. Letter Sorter BEFORE: I knew this metal letter sorter had potential, but it was rough! I sanded and painted and distressed this thing until I could no more!
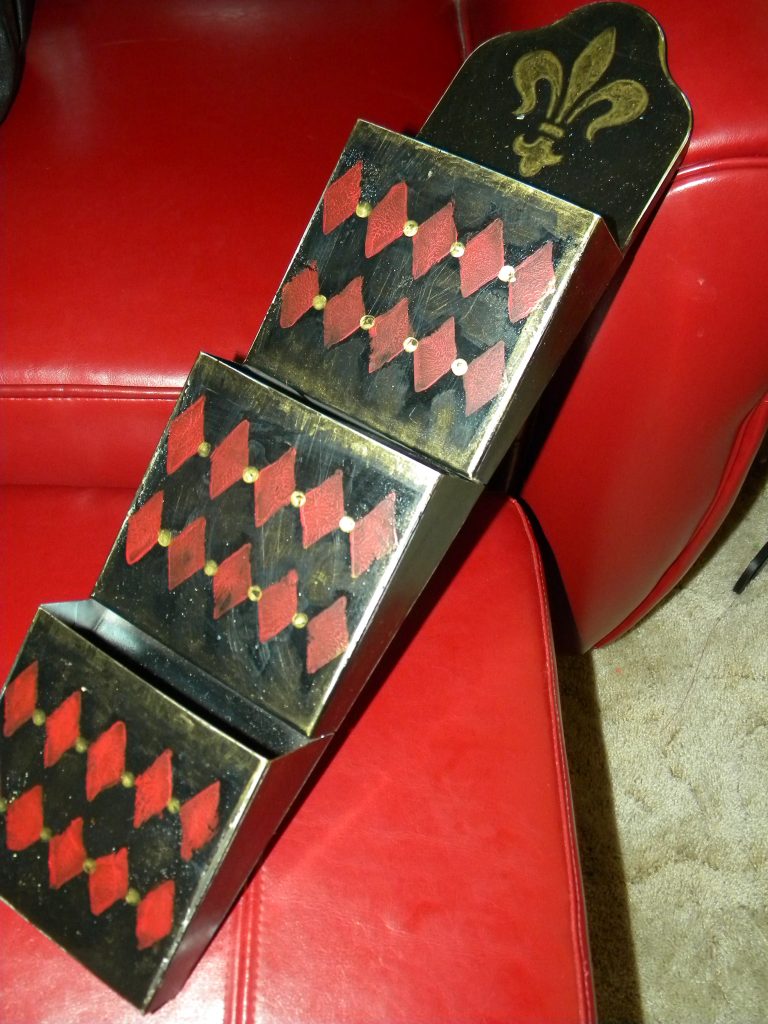
Letter Sorter AFTER: I little elbow grease and some paint went a long way!
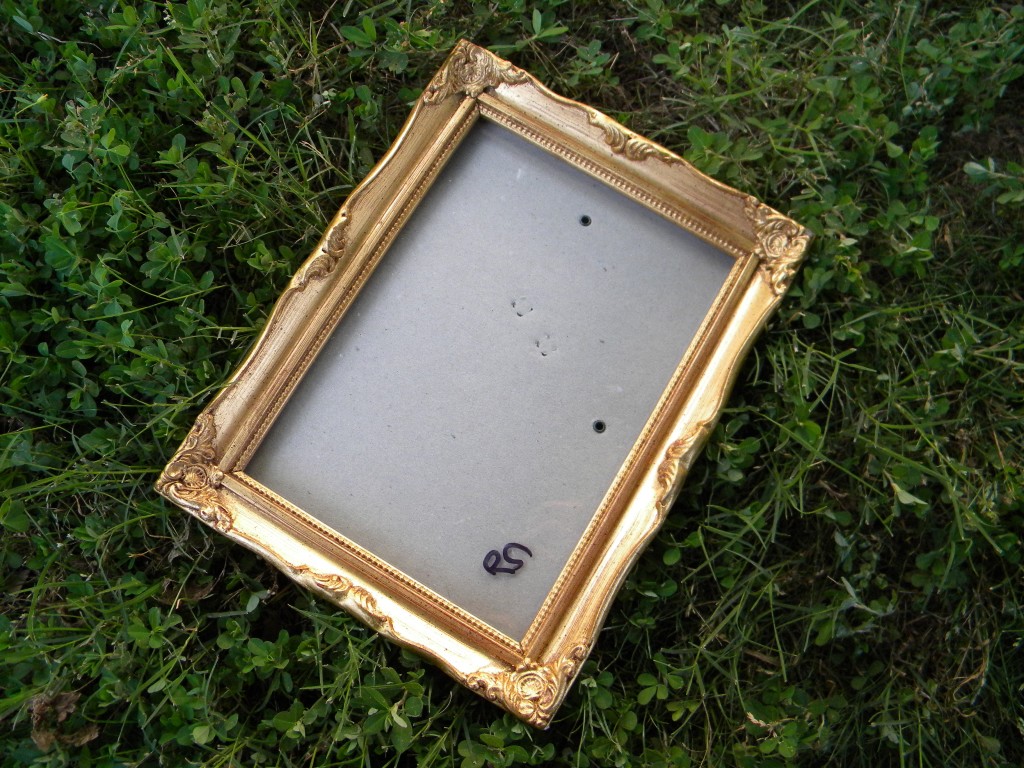
3. Frame BEFORE: I paid 50 cents for this ornate frame!
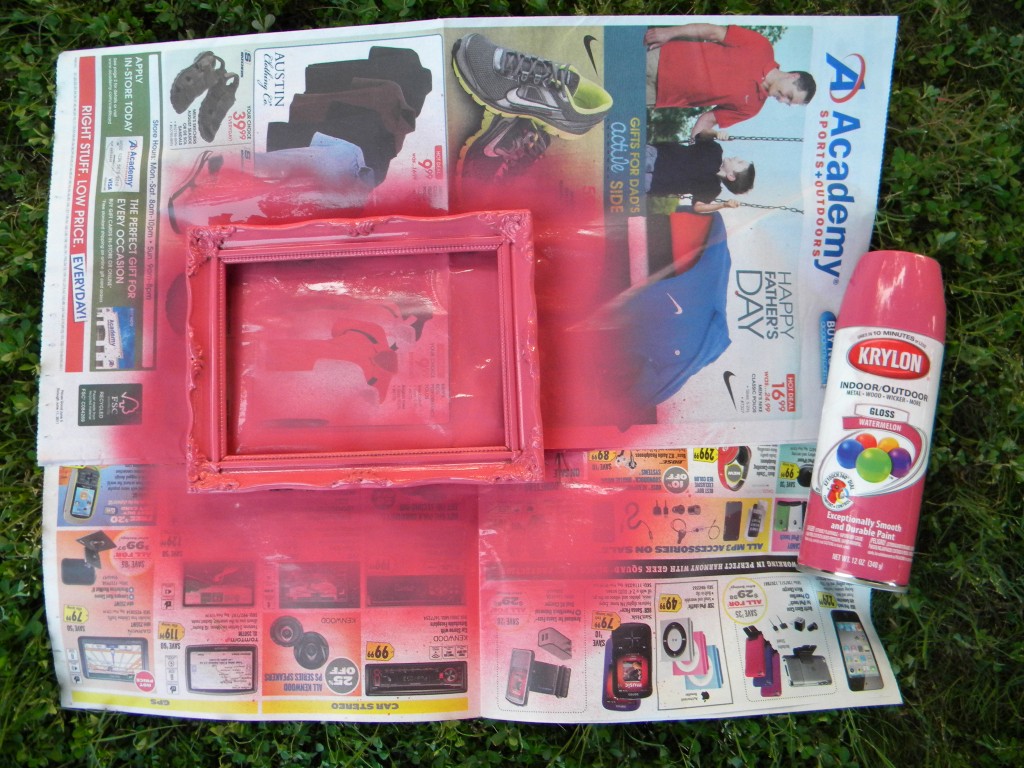
Frame DURING: Being painted on newspaper after popping the glass out first.
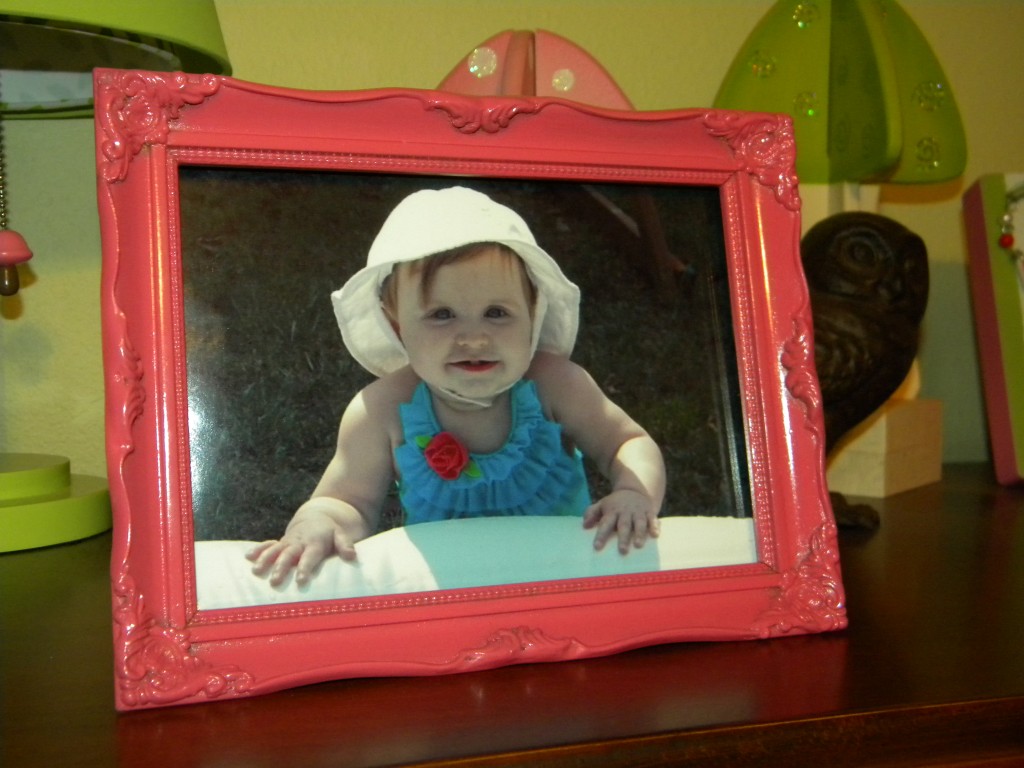
Frame AFTER: I printed a picture off my computer, and ta-dah!
About Lindsay McGarity: I’m a Rogers native. I’m married and a stay-at-home mom to two wonderful kids, a boy and a girl. I enjoy volunteering and am a member of the Junior League of NWA. I love to paint, scrapbook, make crafts with my kids, and I take way too many pictures!
My “crafty stuff” blog: Daily Chrysalis www.dailychrysalis.blogspot.com
My business blog: Fiddlesticks Art & More www.fiddlesticksart.blogspot.com
I can also be found on Facebook at Fiddlesticks Art & More. I also consign my original artwork, frames, ribbon wreaths, and more at the fun boutique store Vintage Glam & Junque, located at 718 N. 2nd St. in Rogers. They can also be found on Facebook.


