Guest post by Mandy Estes
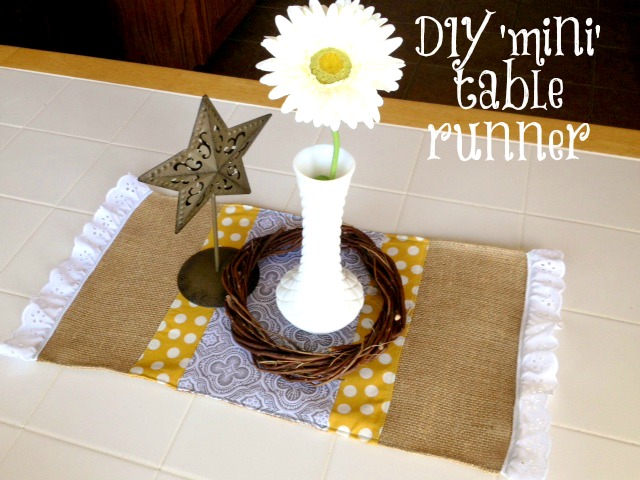
Happy Fall everyone! I’m Mandy and I blog over at Fireflies & Cattails where I generally post about craft-y ideas or things that I’ve made recently. Today I’m going to share a simple little fall inspired mini table runner.
So if you know the basics of sewing with a machine this DIY is for you.
First, let’s talk supplies. I have a small table so I wanted something small and simple. You’ll need about a 1/3rd of a yard of burlap, a yard of trim, and any leftover fabrics you have laying around from previous projects. If you would like to make your runner a different size feel free to adjust!
Next you’ll need to cut your fabric panel pieces. Measure 6 x 12 inches for your middle most fabric and 2 x 12 inches for your corresponding side pieces of fabric.
Then sew all three pieces right sides together. Sew pretty close to the edge.
After you’ve sewn them together you have the option of ironing a thin piece of interfacing to the back side for reinforcement but this isn’t necessary. When you’ve done the above steps it should look like this:
Now you need to cut your burlap pieces. You’ll need two 5 x 12 inch pieces for the top of the table runner. Once you have them cut out sew to each side of your fabric panel (right sides together). Iron over where you have sewn together.
*A trick when cutting burlap: to maintain straight edges you need to pull out two strings where you want to cut across. Doing this should leave a visible space for you to cut, therefore leaving your edges perfectly straight.
Lastly:
- Once you have the top of your table runner complete you need to measure the length across (it should be something x 12 inches) and cut a corresponding piece of burlap for the back of your table runner.
- Once you have the back piece of your table runner cut out sew it to the top piece right sides together, leaving a space to turn. I would make sure your space to turn is somewhere over the middle fabric panel just because it will be easier to sew together once you have turned it right side out.
- Turn right side out, iron, and sew around the entire runner. This just makes the edges nice and flat.
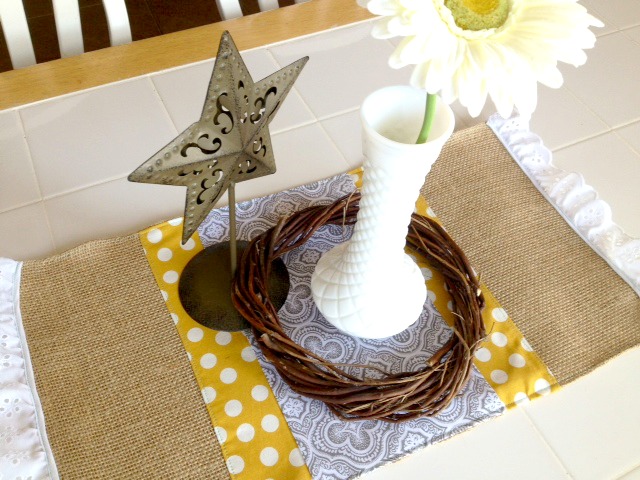
- The last thing you need to do is cut your trim (two 12 inch pieces) and sew them to the ends. And you’re done! Voila!
 About Mandy: Mandy is a stay-at-home mama to her 2-year-old little boy. She says, “We like to go on adventures to great granny’s house, bake, and play with our tractors in the dirt. Mama likes to make things.” Visit Mandy’s blog HERE.


