Okay, all you crafty mamas out there. The clock is ticking. You’ve only got 2 weeks left to send us photos of your most crafty project. When you do, you’ll be entered to win our Crafty Mama Queen 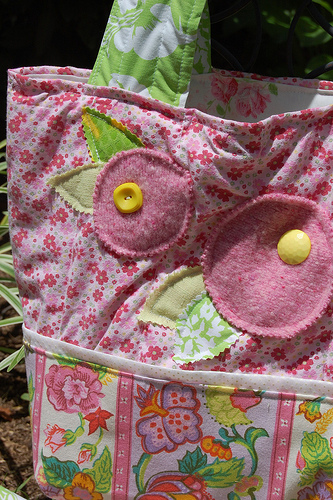 contest, and the woman who takes the crown will win $100 gift card to spend at Signed Sealed Delivered, which is a Motherlode sponsor and also a favorite shopping spot for crafty people. You’ll also be treated to lunch for two at Cuisines Gourmet to Go which is right across the street from Signed Sealed Delivered. (The food is amazing, by the way.)
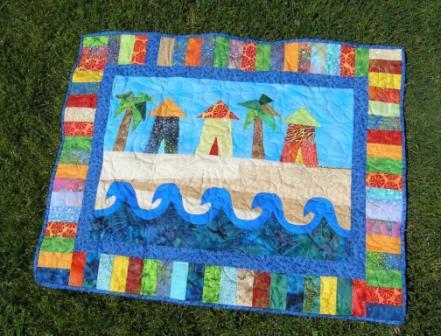
Getting entered in the contest is super easy. Just shoot a picture of your crafty project and send it to us with a very short description of what it is or how you made 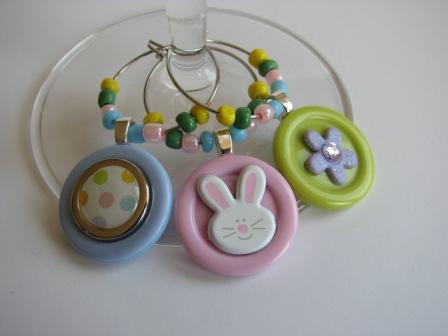 it. Send it BEFORE Sept. 1st. We’ve seen pictures of everything from charms for wine glasses to a ceiling painted with zebra stripes. We’ve seen cute diaper bags, quilts, knitted hats, painted canvas, tooth fairy boxes, aprons and even spray bottles for cleaning with fun custom labels. It has been so much fun to see how creative our readers truly are. I’ve thrown in a few pictures of some of the entries to give you a little inspiration.
At the end of this month, the panel of judges will start sifting through the entries to determine who is the craftiest mama of them all. We’ll announce the winner in early September so stay tuned!